How to Fill Holes to Change Cabinet Pulls for First Time DIYers
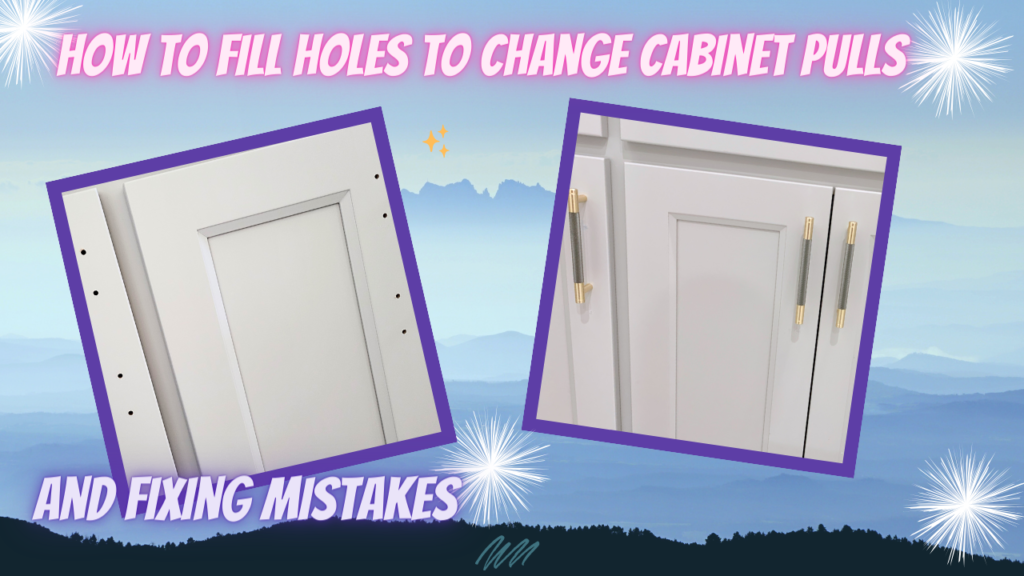
Follow this step-by-step method to fill the holes to change cabinet pulls on dresser or cabinet drawers and doors and prepare to install new hardware. This technique works whether you need to fix a mistake during the installation of cabinet pulls, or you would like to install new cabinet pulls and need to change the position of the holes. We did both and we are first time DIYers! Here’s what happened.
As is true for most recommendations, these recommendations were born from mistakes. In our previous article, How to Install Cabinet Pulls for Beginners, we recommended that you write down the measurements for the center holes of your cabinet pulls and check to make sure that the brackets of the jig didn’t move around. We installed two sizes of cabinet pulls and not all of our cabinet doors and drawers are the same size. We forgot to check the jig and as a result, we drilled holes in the wrong place on 2 cabinet doors. Thank goodness, it wasn’t too hard to fix this.
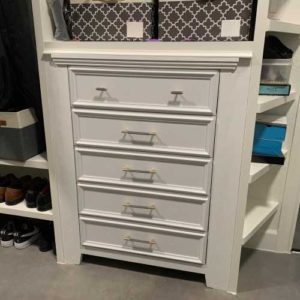
We also wanted a built-in dresser in our closet so we bought a dresser from Amazon that we liked, but we did not like the two knobs on each drawer.
* As an Amazon Associate I earn from qualifying purchases.
We had leftover cabinet pulls and wanted to use the same single cabinet pull on the dresser drawers. To do this, we took off the knobs and filled the holes where the knobs were before making new holes and installing new cabinet pulls. Here’s how it looks now.
Check out this video to see how we used this dresser to make a built-in dresser in our closet!
How to Fill Holes on Dresser and Cabinet Drawers and Doors
Before you fill the holes to change your hardware you have a decision to make. To paint or not to paint, it depends on what you are doing, and your desired result. When we drilled holes in the wrong place in our cabinets, painting the entire cabinet door over was not an option. Not only did we not have any of the paint the cabinet maker used, but we doubted if we would have been able to achieve the same professional finish. For a different project, we wanted to replace two knobs spaced far apart on our dresser drawers with the single pulls we had left over from our cabinets. We didn’t want to repaint the entire dresser drawer. We only wanted to paint the spot where the holes were.
If You Are Planning to Repaint the entire Drawer or Door
If you are planning to re-paint or re-stain the drawer or door in its entirety, you should prep the surface by removing the old knobs or hardware, removing any old paint and sanding down the surface. Follow the steps 2-4 below. Then lightly sand down the excess wood filler with high grit sandpaper to make the surface nice and smooth. Use a dry cloth followed by a tack cloth to make that you remove any residual dust before you re-paint or re-stain the drawer or door.
Next, follow the steps in our article How to Install Cabinet Pulls for Beginners, to set up your hardware jig and drill new holes for your new cabinet hardware. Or, watch our video where we installed hardware, made a mistake and then fixed it. We didn’t repaint the entire cabinet door.
If you don’t want to Re-Paint the entire Dresser or Cabinet Drawer or Door
- Take out your old pulls or knobs. Assuming you didn’t mistake and drilled holes in the wrong spot like we did.
- Use wood filler to fill the holes in your cabinet door or dresser drawer. We bought wood filler that came in a tube with a tip
- Put the tip against the hole. Squeeze the wood filler through the hole until it comes out the other side of the hole
- Wipe away the excess on the front and back of the hole and let it dry
- After it dries, wipe a damp paper towel over the hole. Then lightly scrape away any excess that is visible on the front of the hole. We used a fingernail to lightly scrape and a tiny piece of sandpaper. Twist the sandpaper back and forth in the hole to avoid scraping the cabinet door. Then take a dry cloth to remove any residual dust.
Touching Up the Paint or Stain
- For a painted cabinet, you can use spare paint if you have some. We didn’t have any of the paint color our cabinets were painted. Our cabinets are painted Knitting Needles by Sherwin Williams which is a light neutral gray. Because there are so many shades of gray paint we were afraid we would not be able to find paint that matched. We did not want to buy a quart of paint to use a few small dabs. Instead, we went to the nearest craft store. We bought a skinny little paintbrush and 2 small (2oz) bottles of acrylic paint with a matte finish (our cabinets are not glossy).
- We bought a gray that closely matched the color of the cabinets, and we bought a bottle of white paint just in case the gray was too dark. Take some color swatches from Home Depot, Lowes, or the Paint store with you when you buy the paint. We tested the paint color on the inside of our cabinet to make sure we got the color as close as possible before we painted over the holes. If the above failed, we would have gone to the Sherwin-Williams store to get a quart of Knitting Needles paint.
- For a wood-stained cabinet, you can get a furniture touch-up pen from any hardware store or online and touch up the stain. Just be sure to test out the color on the inside of the cabinet first to make sure it blends well. This also might work if your cabinet is a color where you can find a matching furniture pen.
Change or Install New Cabinet Pulls
Follow the steps in our article How to Install Cabinet Pulls for Beginners – Step by Step, or watch our video linked above. We walk you through how set up your hardware jig and drill new holes for your new cabinet hardware.
I hope this article helps you gain the confidence to change your cabinet pulls! Best Wishes on Your Success Journey!